Are you working towards your PATH Intl. Registered Therapeutic Riding Instructor Certification?
Are you mentoring or supervising teaching hours for someone working towards this certification?
Then this post is for you!
A couple quick disclaimers before we jump into this topic:
- This information applies to the current PATH Intl. Registered Therapeutic Riding Instructor Certification. This information may or may not apply to the new CTRI process. I am not familiar enough with this new pilot process to give any helpful information or advice.
- At the time of writing this blog I felt the information below was still very valid even though PATH Intl. is getting ready to pilot the new CTRI process. A couple weeks before writing this we were told that there were over 700 individuals that were in the pipeline for the current “Registered” certification process.
- I am doing this on my own time and want to share information, so your certification or your mentee’s certification goes smoothly. This information may not necessarily represent the PATH Intl. Main Office and I’m not acting on behalf of PATH Intl. The PATH Intl. office has final say on all things regarding this certification and process.
Also…some myths to clear up:
- Myth #1: The Evaluators are out to get you and like failing people– I promise, we want to see you succeed! We don’t want to see people fail. We don’t like telling people they did not meet criteria. When we see something going wrong we are sitting their thinking and hoping that the candidate catches it. We want you to do well!
- Myth #2: The host site throws in things to sabotage you and you have to catch them during certification- They won’t purposefully put on a stirrup backwards, tell a student not to put a helmet on, tell a volunteer to do something out of the ordinary, give you a horse that won’t pick up a certain lead, etc. But…things happen during certification just like they can happen in real life lessons. The host site and staff do their best to make sure everything is in order and going smoothly but sometimes hiccups happen. I can assure you that if something happens (like a twisted stirrup, a last minute horse swap, etc) it is absolutely, 100% not on purpose. However, these accidents and mistakes are exactly why we do tack checks and teach ‘in the moment’.
- Myth #3: Registered cert is super hard and a ton of people fail- I personally think that the Registered Certification is very, very achievable and a very reasonable ‘ask’ for those instructors wanting to go out and teach individuals with special-needs. I have personally mentored several people, with various backgrounds and experiences, through certification. If a candidate goes in to the certification prepared and puts in the time and work beforehand, they are highly likely to succeed.
Check out my YouTube channel and the Busting Certification Myths Video 1 and Video 2
Since 2009 I’ve experienced the PATH Intl. Registered Therapeutic Riding Instructor Certification (just “Registered Cert” from here on out) in several different ways.
- As a Candidate– In 2009 I obtained my Registered Cert. I met criteria on both riding and teaching during the first attempt. I am going to be using the term “candidate” quite frequently throughout this post. A Candidate is someone who has completed all of the pre-requisites for certification and they are signed up at the Host Site for the Registered Cert!
- As a host site representative– The ‘host site’ is the location/center that the Registered Workshop and Cert are held at. As a host site rep I was responsible for talking to workshop attendees and certification candidates, coordinating the schedule with the Faculty, arranging horses and students for the certification testing, etc. The Premier Accredited Center I worked for typically hosted two of these each year so during my time there I have seen 200+ people go through certification. Some did amazing….and some not so great.
- As a mentor– At the time of writing this I have directly mentored and supervised the pre-requisite teaching hours) for over two dozen people. There are countless others that I have talked to help them understand the certification process, do a check over on their preparedness, etc.
- As faculty/evaluator- I am an Associate Faculty/Evaluator for the PATH Intl. Registered Instructor Workshop and Certification (again…the current process not the pilot).
During this post I’m going to give you tried and true tips to help prepare a candidate, whether it is you or someone you are mentoring, in the time leading up to the certification as well as tips to apply the actual day of the testing.
Where to the tips below come from? Will they work?
These are tips not only from things I have personally experienced and implemented (often after making a mistake and finding out a way to not have it happen again) but also from other excellent mentors and faculty/evaluators that I have had the privilege of working with.
These are also tips that have come from talking to the hundreds of people going through the certification process and observing/listening to what they did before and during the certification that helped them be successful.
In the end though it comes down to the Candidate and how they take this information and apply it to their preparation and certification. The people who do well at certification don’t just walk in un-prepared and get lucky. They have put in countless hours of practice and preparation in the months or years before that Registered Cert.
BEFORE CERTIFICATION
There is a lot you can do BEFORE certification to prepare you and set you up for success.
Before Cert.- General Tips
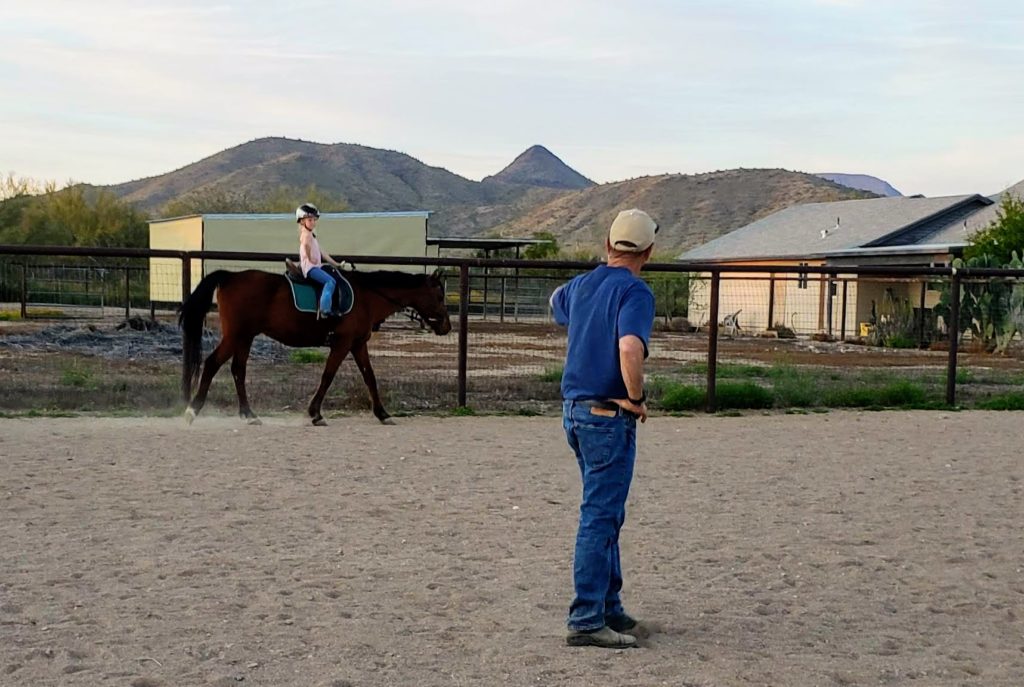
- Find a quality mentor- Find a mentor (the person who supervises the prerequisite 25 teaching hours before certification) who is very familiar with the certification process. This person should be able to answer questions you have with confidence or know where to find the answer.
- Check their track record– Do the Candidates that work with them often pass certification? Do they tend to not pass one part (riding or teaching)? Do they tend to have mentees that have to attempt certification again?
- Check to make sure your mentor’s certification and membership is in good standing– Are they up to date with the PATH Intl. Office? I have had several people pay the certification fee, turn in paperwork for certification, go through the certification process…. only to be told that their mentor’s certification has lapsed and the supervised teaching hours they worked so hard on are not valid.
- Don’t expect quality mentoring to be free…or for you to get paid during this time- Mentoring someone is a lot of work. Mentoring someone not only impacts the mentor and the mentee…but we also have to think about how our students, horses, and volunteers are affected as well. Think of your mentoring time as education (because it is!). You would not expect to go to college or training for a trade job to be free…quite the opposite. You expect to pay for quality schooling. The same line of thinking should apply to the mentoring process for new instructors.
- Be familiar with the process and know what to expect– The more familiar you are with the process, the more comfortable and relaxed you will be during the Registered Cert. You should try to seek out a mentor (the person supervising your 25 teaching hours required before certification) who is very familiar with the proc
- Attend a workshop/observe a certification a few months before– Attending or auditing the workshop before you go for certification is a HUGE piece that can really help head off a lot of problems. During the workshop you will get to learn about teaching techniques, horse selection, disabilities, volunteer management, lesson planning, etc. Realize that the workshop is only 2.5 days so you are just barely scraping the surface of many topics but it is a great way to see what you are comfortable with and what you need work on. Take that information back to your mentor and keep working! Most centers also allow potential candidates to stay and observe certification so they can see the process and be more prepared and relaxed when they decide to go through certification.
- I highly recommend people ‘audit’ the fist time through and several months before your certification. This is a more cost effective way to get the information but it allows some flexibility if you walk out of there with an ‘oh shoot’ moment and decide this really is not for you or if you realize you need a lot more practice.
- I also recommend that you attend the workshop right before your certification. This is a great way to get a refresher, meet the faculty, and meet other candidates that will be going through the Registered Cert. with you. Workshops are usually held at the same time as a certification.
- Note: You must ‘attend’ a workshop either right before or a few weeks/months before you go for certification. Your workshop certificate is good for 2 years. ‘Audits’ are a great way to save money and get information but you do not get a certificate. If you ‘audit’ the workshop several months before you go for certification you will then need to ‘attend’ the workshop held in conjunction with your certification.
- Click Here to view PATH Intl.’s event calendar.
- Realize that teaching for certification is a little different than a “real life” lesson– A good mentor will teach you and reinforce good teaching techniques and horsemanship that will benefit you in your everyday teaching AND guide you in how to incorporate those into your Registered Cert teaching and riding. You only have 20 minutes to teach and one horse to ride in order to demonstrate you know your stuff. You should take all of the good teaching techniques, volunteer management, arena safety, etc. and put it all together in certification. But….realize that you have to structure your teaching and riding in a certain way in order to fit in all the components necessary to check off the ‘yes’ boxes for certification. A real life lesson may not flow exactly like a certification lesson.
- “Play the game” of certification– Learn how to “play the game” of teaching a great lesson in only 20 minutes!
- Gear the last few lessons you teach before certification…towards certification– A lot of us teach 30+ minute long mounted lessons and often to more than 2 students. If this is how a majority of your supervised teaching hours were acquired, I highly recommend setting up some 20 minute long lessons with 2 students so you can practice teaching in the certification format.
Before Cert Prep- Teaching
What are some thigs you can do before certification that will get your teaching ready:
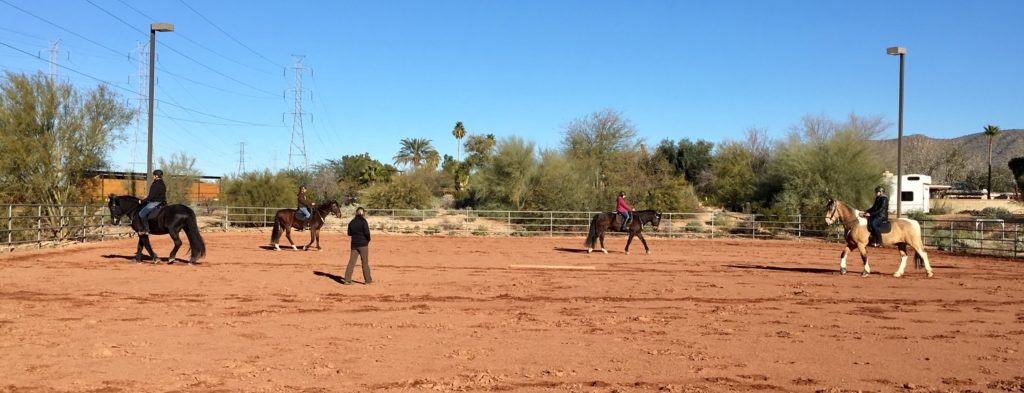
- Practice teaching in the 20 minute format- As mentioned above, we often teach lessons longer than 30 minutes in real life…so practice the 20 minute format!
- Write up lesson plans for common skills you might teach AND practice teaching them (walk-transitions, walk- trot transitions, reining, two point, bending, sitting trot, posting diagonals, etc)- Write out the lesson plans and teach them several times to as many different students as possible.
- Do mock teaching scenarios off two student paper profiles– Have a peer or mentor write up two mock student profiles similar to what you will be getting in certification. Discuss what would you teach, what are some things you would be aware of, any accommodations, volunteer considerations, etc.
- Make sure you are teaching a skill and not just patterns or courses while your practicing– You must teach a riding skill during certification (ex: two handed reining, 2 point, walk-halt-walk- transitions, etc.). Be careful not to get stuck on teaching a game or pattern. Games and patters are great to incorporate into a lesson but they should be used to reinforce and practice riding skills. (ex: teaching a figure 8 pattern to practice direct reining)
- Record your teaching and watch it…compare to the rubric and criteria– Yes, it is weird to watch yourself teach at first. I promise it gets less awkward the more you do it. You don’t need fancy equipment. Pop a cell phone up in the corner of your arena and hit record.
- Incorporate some of the certification day tips I’m about to mention on your practice.
- Practice your accommodation– If you have an accommodation for any part of the teaching be sure to practice this beforehand!
Before Cert Prep- Riding (non-accommodation)
What are some things you can do before certification to get your riding ready?
- Practice the warm up and ride the pattern several times and have your mentor give you feedback– An experienced mentor will require you to demonstrate your ability to ride before they even begin supervised teaching hours with you. If your mentor has not asked to see you ride and just take you on your word, have a conversation about this. I made this mistake a couple times early on in my time as a mentor and it creates frustration from both the mentee and mentor.
- Another recommendation I have on this is that the candidate needs to be at a level in their riding where they could test that day and pass certification. First, it is hard to teach something you yourself are not able to do. Have that riding piece locked down. If someone needs work on their riding you don’t know how fast they will be able to get to the point where they meet criteria for the Registered Cert. They could fix things after just a few rides or it could take them months or years. And often the riding lessons get put off for various reasons like time, finances, etc. even though the candidate was told they were not ready and they needed to prepare for riding during the time they were working on their teaching hours. Again, this recommendation has come from firsthand experience with it not going well. Either The person I was mentoring talked the talk, showed me photos, etc and I took them on their word. Or the person need work on their riding and agreed to work on it during the supervised teaching time but they did not or did not progress fast enough. It then came to certification and they passed teaching but do not pass the riding.
- Ride in groups- You will be warming up in groups. Be familiar with arena etiquette and be comfortable riding with more than one other person in the arena.
- Ride different horses– You will most likely be riding a horse you do not know for certification.
- Have your mentor review your riding (video or in person)– If your mentor asks you to provide a video of your riding and does not let you ride one of their personal horses or program horses…don’t be shocked or offended. There are many different reasons that we may ask you to do this…and a lot of them stem from protecting our equine coworkers.
- Video yourself riding and watch it and compare to the criteria and rubric– Yes, again it feels awkward at first watching yourself on video but this is a very valuable, affordable, and underutilized tool.
- Decide what ‘seat’ you want to ride during the test– You will be asked by the host site if you want to ride English or western (possibly also given the option of dressage as well). Know what type of saddle you want to ride in and practice riding in that equipment. If you ask to ride in a western saddle be prepared and able to ride both two and one handed.
Before Cert Prep- ‘Riding’ WITH Accommodation
- Practice teaching the warm up and the pattern- Find a peer, volunteer, or someone who can ride at the walk/trot/canter and practice teaching them the warm up and the riding pattern. Apply good teaching techniques and traits of a good instructor in this portion as well (whats/hows/whys, task analysis, specific praise, arena presence, etc.).
- Do this with different people and horses if possible– You will most likely be teaching someone you don’t know on a horse you don’t know. Practice with as many different people and horses as possible.
- Video yourself– Watch your teaching of the warm up and pattern and compare it to the criteria. Have your mentor do the same. If they have never worked with someone who needs an accommodation for the riding then have them resource someone who does.
- Understand that this option is difficult but not impossible– I have seen the accommodation for riding option done a handful of times. I have seen people not meet criteria and I have seen people meet criteria…and a couple people who met criteria did a phenomenal job. It is possible! But it takes practice!!!
AT CERTIFICATION
You have made it to certification! What are some ‘day of’ tips that can help set you up for success?
During Certification- Teaching Tips
- Breathe and use critical thinking skills when reviewing the profiles– Your head is probably spinning and you have a million things running through your brain. Take a few deep breaths before you read the profiles and don’t overthink thinks as you read.
- Don’t be afraid to ask questions….but remember that the host site cant tell you want to teach– asking questions to clarify things about the student profiles is a great idea. However. Remember that the host site can’t tell you if ‘x’ riding skill is the one you should teach during certification. The ability to look over the student information and write a lesson plan is part of the testing process.
- If you are planning on using something like a prop or game give the host site warning and a chance to school the horses– Give the host site a heads up on your idea as soon as possible. The host site will do their best to accommodate your ask but they may say no for various reasons. Don’ be surprised if they absolutely say no if you show them five minutes before your lesson.
- Be KIND and PATIENT with the host site staff- They have hundreds of moving pieces that have to be organized and fit together during workshops and certifications. You are important…but you are not the ONLY important person.
- Decide what skill you are going to teach and have a backup plan– Sometimes we read an interpret a rider profile one way…then we get into the arena and the students are much more or less progressed than we had anticipated. Have a backup plan consisting of one skill that is less difficult and one that is more difficult and/or how you would adjust your original skill to be more/less difficult. Hopefully you will not have to use your backup plans but it is better to go in prepared.
- Check helmets, equipment, set stirrups, talk with volunteers etc. BEFORE your time starts– When your time starts clearly and quickly verbalize to the Evaluators what pre-checks you did. If you did this before your time started (which is highly advised) they may not have seen you do so.
- Be calm and considerate when checking girths– Check them gently under the midline of the horse. Remember that checking does not mean you have to tighten.
- Mount riders safety but quickly– This is a place that people eat up a ton of time because they take way to long. Have your riders ready and waiting in a nearby location to minimize the time between mounts.
- If you feel comfortable you can use another candidate to check girth and adjust tack of the students after you month them– If you choose to do this remember that you need to verbally ask them to do it AND you should double check as you are ultimately responsible for the outcome
- When you check tack or adjust equipment use this as time to pass on info to your riders- try to minimize quiet lag time as much as possible. You only have 20 minutes!
- Try to limit the time you have your back to the Evaluators– Project your voice towards them if possible so they can hear you. If you stop both horses for a tack check or to explain something (as a group)…think “horse butts to the Evaluators”
- If you have to do a talk with one rider more privately do it closer to the Evaluators so they can hear. – This is sometimes necessary but do this sparingly. Remember you are to be teaching a group lesson as much as possible
- Teach to the class as a group– “Ok everyone” “Students you are…” “Both of you will….” are good leading phrases that help you word things in more of a ‘group’ way vs. ‘individual’ way.
- Teach to what you see! Paper can be misleading…you may have one image of a rider in your head based of the profile but something may change
- Feel free to be creative but don’t go over the top– Creativity and having fun is great but be careful that it does not distract you form teaching/incorporating a riding skill. Also be cautious that it is not so complex you spend half your lesson explaining the game or pattern.
- Manage volunteers– Yes, you are probably working with some experienced volunteers. But you still need to give them directions and feedback during the class. During certification the volunteers are asked to not do anything unless the Candidate has told them to do so.
- We are working with living beings (students, volunteers, horses)– If something changes, take a breath, relax, be flexible and move on. This was not done on purpose and the host site probably feels horrible if we have to tell you that there is a change in the plans.
- Do an honest review of yourself at the end and address any change in plans from the original lesson plan you handed to the Evaluators– Write a thorough but concise reflection of your lesson. Don’t write an essay (again…you are not the only person going through certification). Go over positives and areas that you can improve in. If you had to do something different from your original lesson plan give the ‘why’. This is also a good time to add in any notes if you realized you missed something major (ex: should have asked students to have shorter reins, given volunteers more direction, etc).
During Certification- Riding Tips
- Breathe
- Check your equipment- You are responsible for correctly setting the length of your stirrups, making sure your girth is tight, etc. You can request assistance while you are mounted but you must verbalize what you need done.
- Don’t over-warm the horse– Warm up the horse enough to figure them out and feel all three gaits (both directions) but don’t over do it. Keep in mind that the horse may have to be ridden by more than one person. I can also say that it is not impressive if you go trot or canter the horse into the ground. This is not a time to show off.
- Don’t over ride the horse– Often you are riding a program horse and not a high-caliber show horse. Have a pleasant ride that gets the job done. Again…this is NOT the time to show off.
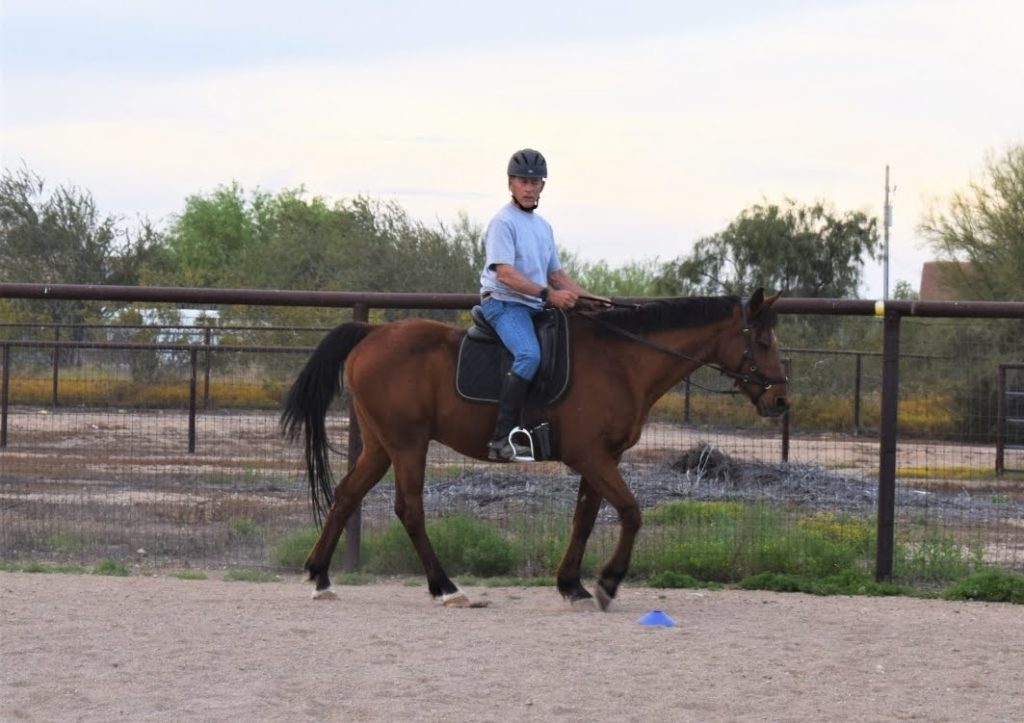
- Remember proper arena etiquette– This is something that you need to have practiced before certification.
- Remember that you are most likely a little nervous and tense and your horse feels that– Start off cuing more gently than normal until you get the feel of the horse and they get to know you. On the opposite side…if the horse does not want to go still check your energy and position. If your on a program horse and feel ‘off’ to them they may try and take care of you by staying slow. They may feel you are off balance or too tense and not move forward because their caretaker mode has kicked in or you are not giving them the correct cues.
- Don’t blame the horse– So often it is ‘user error’ if a horse is not wanting to go, going to fast, etc. Try to find the root of the problem and see if you are asking/not asking the horse to do something. I promise the horse is not out to sabotage you either. Is the horse being ‘Naughty’ or trying to say something else?
During Certification- Ride Accommodation Tips
- Breathe
- Use your instructor voice and have good arena presence– You are the instructor and the leader during the time of certification. Even though you are just teaching the warm up and pattern be professional and confident.
- Sometimes it helps to think/talk as if you were out on that horse warming it up or riding the pattern– Verbalize the thoughts that are going through your head. If you don’t say it then the Evaluators don’t know what you are seeing or not seeing in the rider and horse.
- Even though it’s an able-bodied rider still use good ‘teaching techniques’– see note under preparing for the Riding-Accommodation
Want more tips and information? Check out the blog posts by Lessons in TR! She has some great information about preparing for certification.
A General Tip Overall.
I encourage you to read this piece below if you are a candidate or a mentor. It may be an uncomfortable topic or you may think that this does not apply to you or your mentee…but this ‘mindset’ is seen frequently.
Don’t walk into certification thinking you have a free pass on something that you’re not prepared for just because you can send in a video.
Yes…that is a nice ‘save’ if something happens but prepare and test as if there was not a video option.
If you “know” you are probably not going to pass something and are planning on using the video for a certain part then that is a sign that you should probably take longer to prepare.
Remember that you get to walk away from the certification and go home but the host site does not. They have to work with the horses, students, and volunteers after all the Candidates leave.
“I can just video my ride” mentality- If you “know” you are probably not going to pass the ride then really think if you are ready to test. Going and riding one of the host site’s horses or a horse they bring in is a privilege. Doing a bad, unprepared ride just because you get to do a video is not right and not ethical. You are riding a living, breathing animal that must go back to work and needs to be happy and healthy for their students. You are also riding in an area with other people. If you are not capable of safely and competently riding a horse you not only put your safety at risk but also the safety of your fellow candidates. Don’t take the riding lightly.
“I can just video my teaching” mentality- If you “know” you are probably not going to pass the teaching then are you ready to test? Remember that you are working with actual students. These students deserve a good instructor and they also need an instructor who is trained and capable enough to challenge them but also maintain safety. The student’s well being is in your hands even as a candidate. Don’t take the teaching lightly.
Watch the recording of the Live Instructor Chat that covered this topic.
Questions or comments about certification? Feel free to email me at saebra.p@hooffallsandfootfalls.com or comment below! If you have a thought or question on this then most likely someone else does as well!
Need a mentor? Want to do a pre-certification readiness assessment? Check out the different services HF&FF offers!

